")
THE POWER OF CRAFTSMANSHIP: HOW TO MAKE A GARMENT FROM OLD JEANS
Hi! Thank you for being interested in my work! I have a fresh new website, please visit:
www.atelierpixelpollyamsterdam.nl
Also having lots of old jeans in your house, oldies from you and your homies? You might consider transforming them into a new unique item with still the feel of vintage! For instance, this lovely skirt with a divided zipper in front or a small backpack are very easy to make!


How to start?
Experience level:
You need some experience of making a garment on the sewing machine or ask someone who has the skill of sewing, to help you.
Requisites:
A sewing machine, a couple (2 or 3) of old jeans, scissors, thread, tailor's chalk, pattern paper (or a pattern), and closures.
1. Find an existing pattern or make a pattern yourself. For this, you can use your favorite skirt or top.
You can find the complete tutorial for making your own pattern of your favorite skirt in this video

For making your own pattern you have to measure the parts accurately. Divide big parts in two; so they will fit on the parts you have cut out of the legs of the jeans. Add an extra 1 cm (0.5 inches) for the seam allowance; this is explained in the video above (dotted lines in the pictures).

Cut out the patterns. Cut off the legs of the trousers and cut the legs open.
2. Put the pattern on the denim material. Be sure to place the pattern parts on the grain line. The horizontal line of the fabric. This is very important! Draw the pattern on the textile with a tailor's chalk and cut out the parts.

3. Zigzag or lock the edges. Sew the pieces together and place a zipper where needed. Try the garment. If it is not fitting well you can still make adjustments.
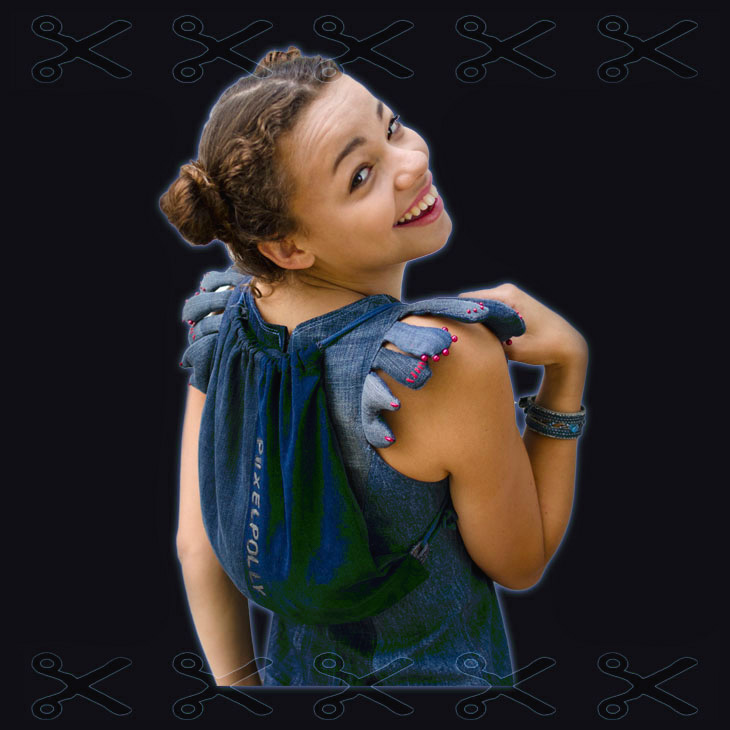
4. If you are satisfied with the result; press the seams open, then topstitch along the sides of the seams. you can finish the garment, if it is a skirt, with a waistband (you can use a waistband from jeans). Stitch the hems. You can also choose a funky look with frayed hems (see photo below). Here for you do not zigzag or lock the hems of the neck, arms, and bottom seam. Topstitch two lines 0.35 inches near the edges and remove the weaving thread on the edge of the denim textile.
Be creative and make the garment unique. Try to experiment with studs, golden eyelets, beads, textile paint, bleach pen, trimmings, embroidery, or sewing punky stitches.

Stay eco-unique! Your outfit is part of the unique you. Which defines you and can make you happy and more confident. Being 'the true unique you' is an art and a gift of life. Watch a Ted talk on Youtube, about the art of being yourself.
♥ Pixelpolly
- - - - - - - - - - - - - -
Faith from Australia followed the instructions of the tutorial and made a dress for a project at school. Look at her shine on the catwalk. Thank you, Faith, for sending me the picture!

Confused? Please let me know by mail or social media if you have any questions.
Tutorial - Do it yourself – how to make a small denim backpack
Get on the road with a tiny backpack. It allows you to bring your phone, water bottle, purse, etc. without a fuss. A denim backpack is very easy to make from a pair of old jeans and two cords of 1.20 m (47,25 inches). Don't use thick denim for this, the fabric should be able to fold/wrinkle around the cords.
Cut the legs of the trousers, cut off the seams. Make a square patchwork from denim. Stitch them to each other, so you get a patch of 65 X 33 cm (25,60 X 13 inches).
Iron the seams open and iron a small hem (5 cm) on the top edges. If you want to decorate it with paint, patches, beads, or so: you should do it now.
The strings of the seams can be used for the loops that are stitched into the side seam; on the bottom of the backpack. Cut two small pieces of 8 cm (3 inches), for the loops. Fold the fabric in half, with the right sides facing each other. Fold the strips for the loops and insert them into the side seam, about 1 cm above the bottom edge.
Now pin the side seams and stitch this approximately 1.5 cm (0,5 inches) from the edge, leaving 5 cm (2 inches) open at the top, for the tunnel. See the Figure below.

If you turn the fabric, the result should be a bag with two little loops at the bottom of each side seam. Now fold the top edge double, to make a tunnel and put the cords within, as shown in picture B.
Each cord runs from the bottom of the side seam around the two tunnels; coming back at the starting point. Stitch the tunnels, be aware that you don't stitch the cords. After that, you can insert the strap through the loop and knot it tightly.
- - - - - - - - - - © - Amsterdam 2014 - 2026 Ageethe groenendaal - - - - - - - - - - -
Webdesign Pixelpolly E-head
copy right